Author: Adam - First published in American Thunder - Spring 2009
Right Chaps. First of all, clean your work bench and then lick it. If you're not prepared to do that, then it ain't clean enough to put bike bits on! Then, look at your tools and throw anything marked Draper, Blackspur etc in the bin.
Replace with quality items. Anything of specific interest, I'll use a lolly stick to point to.
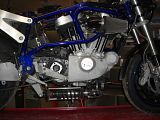
Remove tank, battery (not essential but makes getting at wiring connectors a lot easier) and the exhaust system.
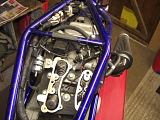
Get rear cylinder on TDC and remove the rocker gear, if you're not sure what you're up to, then remove the front rocker gear too.
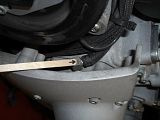
Disconnect the breather pipe behind rear of timing cover.
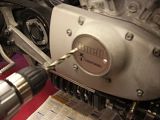
Drill out the rivets on the timing cover and unscrew the two Phillips screws beneath.
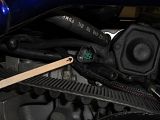
Unplug harness behind starter motor.
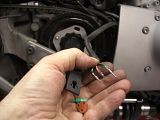
With long nose pliers, pull out the plug wedge and dismantle - after noting which wire goes where!
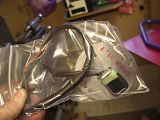
Remove the timing back plate after marking its position with a very fine scribe. Pull harness through case and put in a plastic bag to keep safe.
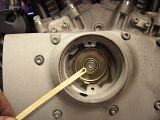
Undo bolt.
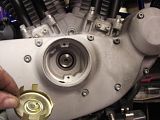
Pull off rotor. Remove cover bolts - look at sequence in manual. If no manual, then think about what you're doing and use common sense!
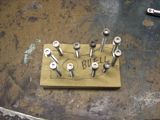
If you're not familiar with which bolt goes where, stick them in a bit of cardboard with a cover outline drawn on it.
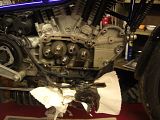
Gently tap cover and wriggle it off. It's too late to tell you to put newspaper underneath now to catch any oil!!!
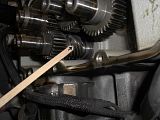
At this point it's well worth inspecting the oil pump drive gear. It's design is the same as on pre war Harl*ys and combined with unmatched assembly, it doesn't always last very long. Although I suspect owners don't help much by not warming their motors properly. A bronze XB pinion is an upgrade here.
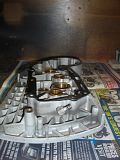
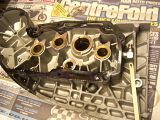
Unscrew breather union
from case
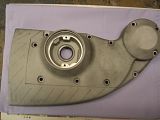
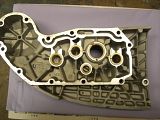
Mark out the bits you need to remove. The rear lug isn't
needed although I seem to remember Maz saying it would
make the line reaming of new bushes to size a bit tricky if they
were ever needed in the future.
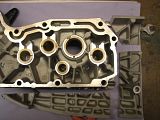
Cut the bits you don't need (please-no angle grinders here!)
and finish off with a linisher/polishing etc. Put a smooth
radius on the tunnel that the wiring will run through, they're
very sharp even from the factory. Surgically clean the case
to make sure that there's no abrasive left anywhere.
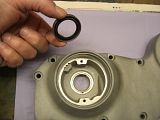
Pull out the old oil seal.
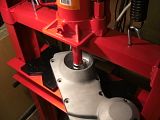
Press in a new one.
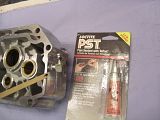
Screw in union the same number of turns that you used to remove it. Use a little pipe sealer.
Reassemble in the reverse order as 'Mr Haynes' says and use new gaskets.
I like to use new exhaust studs as insurance against future breakage, this can be a real pain if they break off flush with the head
WarningWhen reassembling your rocker gear, follow the workshop manual procedure to the letter. If you don't and just go and bolt stuff down (and many people do), you WILL bend valves, break valve guides etc, etc. Now, if you wish, you can re-route your oil lines in a less contorted more logical manner.


