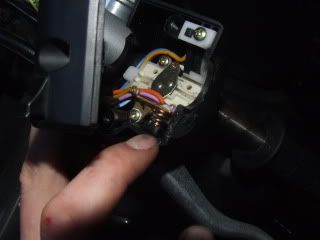
Stage 1: Remove the cowling then remove the left fuse box noting the clip that grips the wiring loom for re-assembly.
Use 3/8" spanner to remove the two bolts holding the left fuse box.
Stage 1 illustration:
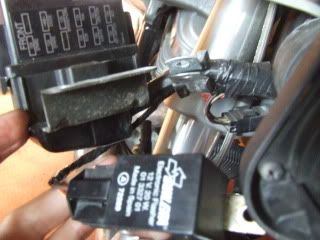
Remove the Spanish manufactured electronic flasher unit from the right side and the fuse box from the right side after-ward again noting the position of the clip that grips the wiring loom for re-assembly; holding the wire that feeds the flasher unit and just above the wiring branch.
Use size T27 Torx spanner to remove flasher unit.
Use 3/8" spanner to remove bolts holding right side fuse box.
stage:2
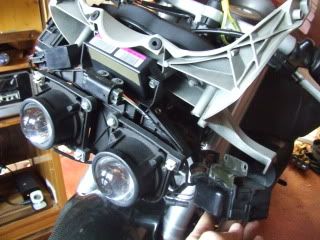
You now have access to the side bolts gripping the headlight hosting. I say hosting because it doesn't actually house the headlights but holds them. The headlight must be removed to access the horn.
Stage 2 illustration:
Stage 3:
Remove the two bolts, one each side of the E.C.U, that fix the headlight hosting to the head gear. The headlights will fall free and because you have removed all other associated electrical parts from the head gear you now have full access to the horn.
Use a 3/8" socket or torque head spanner to remove the bolts from the head gear.
Stage 3 illustration:
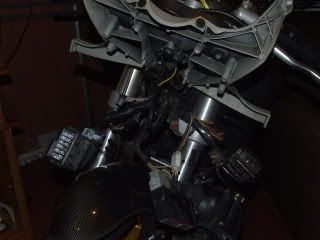
Stage 4:
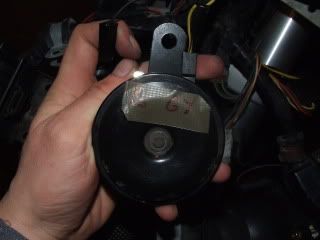
The horn is connected to the frame by a single Allen bolt. Remove the horn from the frame and check the connectors are properly fitted. Check that the wires leading immediately from them are not worn or exposed as they could be. Should the horn work loose on the allen bolt they could rub.


