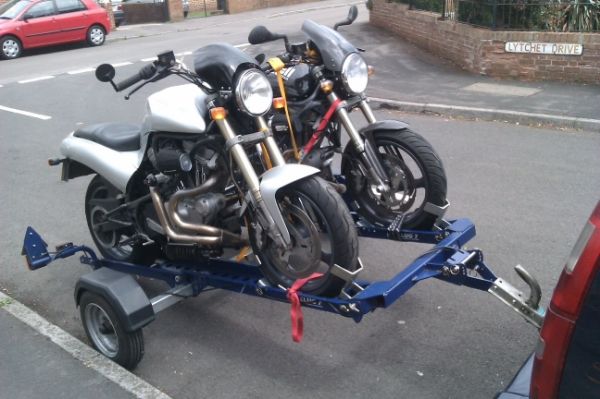
Well, I finally found time to fit my new Mikuni HSR42 yesterday.
Attachment:
 Mikuni 001.jpg [ 4.02 MiB | Viewed 2931 times ]
Although it did fit straight on, after swapping out the choke cable internals, it's not quite the whole picture, as, if I'd remembered to read previous posts, I'd have known that although this is the "Easy Kit", the cables are still slightly too long. I thought that this was down to my cables being stretched originals (15 years/ 35000 miles) but others who have gone this route before have learned the same thing. I'll make the spacers tomorrow. I could probably use a new throttle assembly, if such a thing exists, as it's pretty stiff these days.
Tonight, I stayed on at work and made a new spacer for the race filter that I am currently running. I'm gonna make a "Force" type elbow, but I haven't got time right now.
The CV carb must have deeper drillings that the adaptor which came with the kit, as when I tightened up the allen screws, they bottomed out leaving a 6mm gap at the spacer behind the filter back plate.
Attachment:
 Mikuni 006.jpg [ 3.33 MiB | Viewed 2931 times ]
As per my usual luck, we didn't have anything near the size I needed in the scrap box at work, so I had to make it from a lump of ally that was laying around.
Attachment:
 Mikuni 017.jpg [ 10.5 KiB | Viewed 2931 times ]
The original one is made from thick wall tube, simply sawn off on a chop saw.
I drew around the original, then used a transfer punch to get my hole centres. You don't need the fourth hole with the Mikuni.
I used the bandsaw to hack it out, but we only had a fine blade, so it took a while.
Attachment:
 Mikuni 014.jpg [ 9.28 KiB | Viewed 2931 times ]
I held it in the mill to whittle it down a bit more.....
Attachment:
 Mikuni 013.jpg [ 13.72 KiB | Viewed 2931 times ]
Then drilled the holes 15mm deep and tapped them M6.
Attachment:
 Mikuni 012.jpg [ 13.67 KiB | Viewed 2931 times ]
I countersunk the original spacer, then used some countersunk screws to fix the new block to the old one. This was the easiest way to hold it in the lathe.
Attachment:
 Mikuni 011.jpg [ 7.42 KiB | Viewed 2931 times ]
Using this method, I could face, turn and bore the new spacer in one hit, leaving only the back face to finish.
Attachment:
 Mikuni 021.jpg [ 14.52 KiB | Viewed 2931 times ]
Attachment:
 Mikuni 025.jpg [ 41.59 KiB | Viewed 2931 times ]
Once finished to size on bore and diameter, I removed the original and turned it around to face it to size.
Attachment:
 Mikuni 042.jpg [ 928.38 KiB | Viewed 2931 times ]
After that, all I had to do was drill out the holes to a clearance size and give it a little polish...........
Attachment:
 Mikuni 024.jpg [ 26.14 KiB | Viewed 2931 times ]
I fired her up tonight and she was ticking over almost straight away. I left her ticking over while I pumped up the rear tyre (with a bike pump) and then took her for a trial run out to Bere Regis and she is running like a bat out of hell. She pulled straight up to 6500rpm without blinking in top, from a 40mph roll on. She used to do that, when I first rode her,10 years ago.

I'll check the tyre pressures again tomorrow, on the way to work.


